HarmonyOS- 基于ArkUI(eTs)实现猫头鹰动画

前言
因为工作原因,后面我可能会接触到基于TS扩展的声明是开发范式,因此我需要提前学习关于ets的内容。在学习了一段时间之后,我决定用ets来画一只猫头鹰,看看ets跟我之前掌握的知识有何不同,在什么地方需要值得注意。
效果展示

实现功能
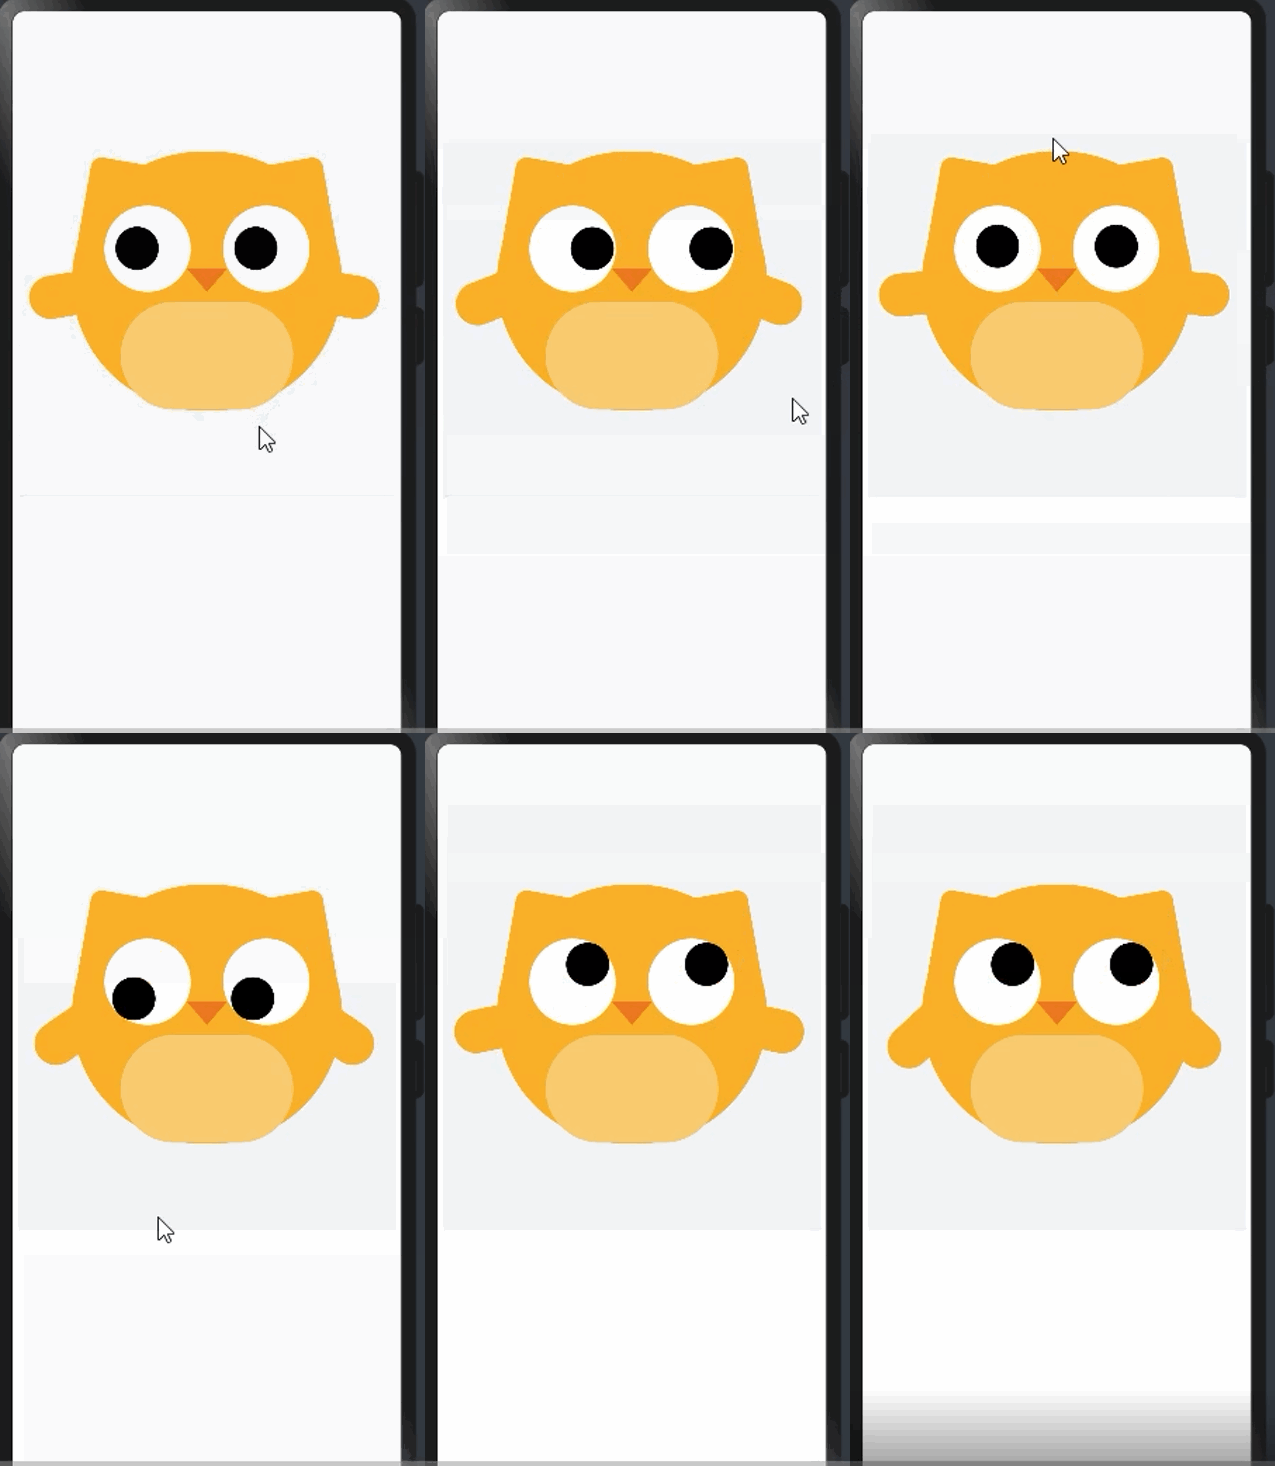
功能的话有两个,一个是翅膀的挥动动画,还有一个是根据点击屏幕,眼球会根据点击屏幕的方位进行移动。
实现思路
1、画出静态的猫头鹰
@Entry
@Component
struct Index {
//  @State message: string = 'Hello World'
//    @State title:string = "一只猫头鹰"
  @State angle1:number = 40
  @State angle2:number = -40
  @State currentX:number = 20
  @State currentY:number = 20
  build() {
    Column(){
      Column(){
//        Text(this.title).fontSize(30)
      }.width('100%').height(50)
      Column(){
        Column(){
          //眼睛
          Column(){
            Column(){
            }.width(40).height(40).position({x:this.currentX,y:this.currentY}).borderRadius(20).backgroundColor('block')
          }.width(80).height(80).backgroundColor('#fff').position({x:30,y:50}).borderRadius(40)
          Column(){
            Column(){
            }.width(40).height(40).position({x:this.currentX,y:this.currentY}).borderRadius(20).backgroundColor('block')
          }.width(80).height(80).backgroundColor('#fff').position({x:140,y:50}).borderRadius(40)
          //嘴
          Column(){
            Flex({justifyContent:FlexAlign.Center}){
              Polygon({width:38,height:22}).points([[0,0],[38,0],[19,22]]).fill('#e27326')
            }
          }.position({x:0,y:108})
          Column(){
          }.width(160).height(100).backgroundColor('#f3cc74').borderRadius(96).position({x:45,y:139})
        }.width(250).height(240).backgroundColor('#f2b22e').offset({x:0,y:80}).borderRadius(150).zIndex(2)
        //角
        Column(){              }.width(100).height(80).backgroundColor('#f2b22e').borderRadius(10).position({x:50,y:100}).rotate({x:0,y:0,z:1,centerX:'50%',centerY:'50%',angle:100})
        Column(){  }.width(100).height(80).backgroundColor('#f2b22e').borderRadius(10).position({x:200,y:100}).rotate({x:0,y:0,z:1,centerX:'50%',centerY:'50%',angle:-100})
        //左右翅膀
        Column(){        }.width(40).height(100).backgroundColor('#f2b22e').position({x:40,y:160}).rotate({x:0,y:0,z:1,centerX:'50%',centerY:'50%',angle:this.angle1}).borderRadius(50)
        Column(){       }.width(40).height(100).backgroundColor('#f2b22e').position({x:265,y:160}).rotate({x:0,y:0,z:1,centerX:'50%',centerY:'50%',angle:this.angle2}).borderRadius(50)
      }.width(350).height(400).backgroundColor('#f1f3f5')
    }
  }
}
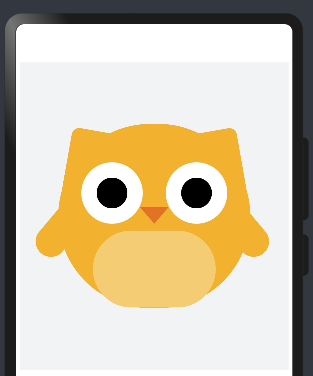
上面代码的效果如下:

position({x:lenth,y:length}): position代表的是css中的绝对定位,x类似于top属性,y类似于left属性,x与y相对于父容器的位置。
offset({x:length,y:length}): offset代表的是css中的相对定位,x与y代表坐标偏移量。
rotate({x:number,y:number,z:number,angle:angle,centerX:centerX,centerY:centerY}): x,y,z属性决定了旋转的轴,angle代表旋转的角度,正数为顺时针,复数为逆时针,centerX与centerY是旋转的中心点。
2、实现翅膀的挥动
这个可以利用api中的动画属性,我利用显式动画来实现这一效果:
|
接口名称 |
功能描述 |
|
animateTo(value: AnimationOptions, event: ()=> void) : void |
提供全局animateTo显式动画接口来指定由于闭包代码导致的状态变化插入过渡动效。event指定显示动效的闭包函数,在闭包函数中导致的状态变化系统会自动插入过渡动画。 |
给翅膀加上挥动的动画。
//左右翅膀
Column(){
}.onAppear(()=>{
  animateTo({duration:300,curve:Curve.Linear,iterations:-1,playMode:PlayMode.Alternate},()=>{
    this.angle1 = 100
  })
}).width(40).height(100).backgroundColor('#f2b22e').position({x:40,y:160}).rotate({x:0,y:0,z:1,centerX:'50%',centerY:'50%',angle:this.angle1}).borderRadius(50)
Column(){
}.onAppear(()=>{
  animateTo({duration:300,curve:Curve.Linear,iterations:-1,playMode:PlayMode.Alternate},()=>{
    this.angle2 = -100
  })
}).width(40).height(100).backgroundColor('#f2b22e').position({x:265,y:160}).rotate({x:0,y:0,z:1,centerX:'50%',centerY:'50%',angle:this.angle2}).borderRadius(50)
onAppear: 动画效果由它来触发。
animateTo({duration:number,curve:curve,iterations:number,playMode:playMode}): duration单位是毫秒,代表动画持续的时间;curve代表的是动画播放的速度,Curve.Linear为匀速播放;iteration是播放的次数,-1代表无限次播放;playMode.Alternate表示需要播放返回的动画。animateTo还有delay的属性,表示延迟播放动画,还有tempo,表示播放的速率。
3、眼球移动的效果
该效果在pc端本来是用mouseMove事件实现的,考虑到手机上没有鼠标,我就将这个效果改成用触摸屏幕来触发事件了。
Column(){
    .....
}.onTouch((e)=>{
//        console.log(JSON.stringify(e))
        const px = e.touches[0].x;
        const py = e.touches[0].y;
        //容器的宽高
        const dw = 350;
        const dh = 400;
        //眼眶的宽高-眼球的宽高
        const maxX = 40;
        const maxY = 40;
        if(px>0&&px<350&&py>0&&py<400){
          //眼球的当前定位
          const x = px/dw * maxX;
          const y = py/dh * maxY;
          this.currentX = x;
          this.currentY = y;
        }
      }).width(350).height(400).backgroundColor('#f1f3f5')
其中if中的语句是判断触摸的坐标是否超过了容器的范围,如果超过了就不会触发touch事件。
总结
我在写代码的途中也发现了一个问题,目前我没有找到解决方法,在设置borderRadius的样式中,我发现borderRadius只能设置一个值,这就意味着这个组件的边框四个角都会变成相同的圆角,假如我想只让一个角变成圆角的话,该如何设置呢?在css中用border-radius可以轻松地设置不同的圆角,比如:border-radius:10px 10px 20px 30px;ets中也能这样设置吗?
以上就是本次分享的全部内容,本次实现的效果很简单,也是我学习ets相关内容的一个脚印。后面我会提供更优质的内容跟大家分享。
 蜀ICP备20004578号