Dcoker实战:Linux环境安装Redis图文教程
今天给大家分享docker安装Redis图文教程,服务器版本为Centos8,希望对大家能有所帮助!
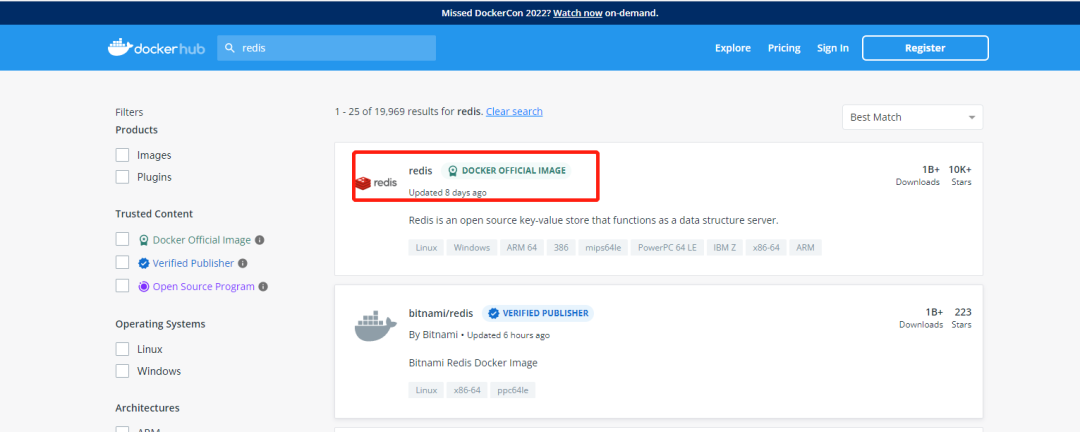
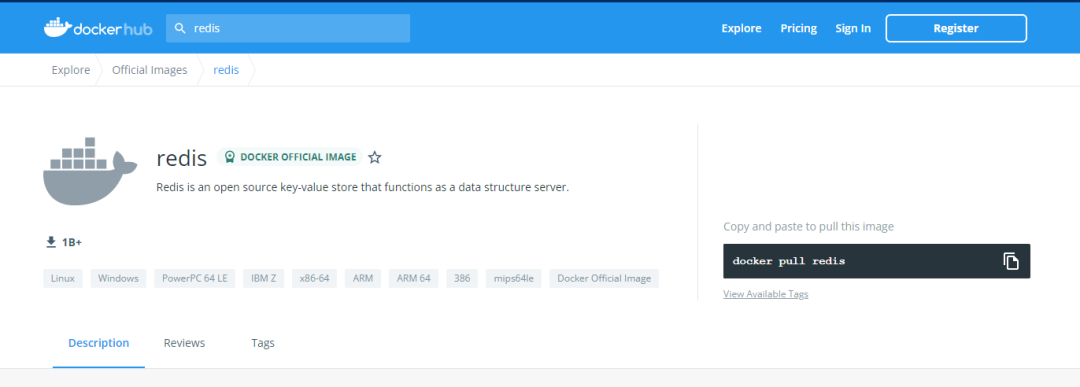
1.官网镜像版本查找
https://hub.docker.com/


2、拉取redis镜像
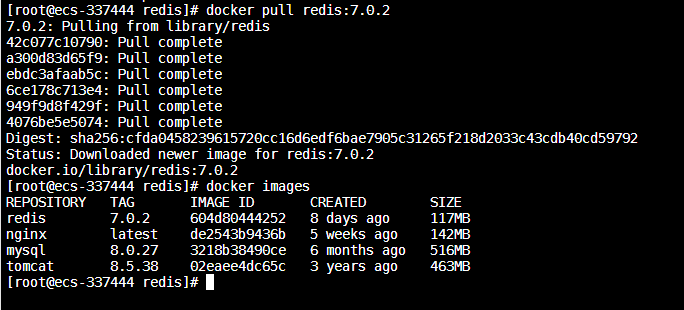
docker pull redis:7.0.2
拉取redis镜像页面如下:

3、创建redis 服务器挂在目录
- mkdir /home/redis
- mkdir /home/redis/data
- mkdir /home/redis/conf

4、下载redis.conf 文件
dockers 下载的redis 默认是没有 redis.conf 文件的,需要从官网下载,也可以使用我下载好的redis.conf 文件。对应的版本是7.0.2 。下载后将文件上传到 /home/redis/conf 里面去。redis.conf 文件内容如下 已经去掉注释,如果需要特殊的配置去管网查看即可。
# Redis configuration file example.

# bind 127.0.0.1 -::1  #外网访问需要注释掉

protected-mode yes

port 6379

tcp-backlog 511

timeout 0

tcp-keepalive 300


daemonize no

pidfile /var/run/redis_6379.pid


loglevel notice


logfile ""

databases 16

always-show-logo no


set-proc-title yes

proc-title-template "{title} {listen-addr} {server-mode}"

stop-writes-on-bgsave-error yes

rdbcompression yes

rdbchecksum yes

dbfilename dump.rdb

rdb-del-sync-files no

dir ./

replica-serve-stale-data yes

replica-read-only yes

repl-diskless-sync yes

repl-diskless-sync-delay 5

repl-diskless-sync-max-replicas 0

repl-diskless-load disabled

repl-disable-tcp-nodelay no

replica-priority 100

acllog-max-len 128

lazyfree-lazy-eviction no
lazyfree-lazy-expire no
lazyfree-lazy-server-del no
replica-lazy-flush no


lazyfree-lazy-user-del no


lazyfree-lazy-user-flush no

oom-score-adj no

oom-score-adj-values 0 200 800

disable-thp yes

appendonly yes

requirepass 654321

appendfilename "appendonly.aof"
appenddirname "appendonlydir"


appendfsync everysec

no-appendfsync-on-rewrite no
auto-aof-rewrite-percentage 100
auto-aof-rewrite-min-size 64mb
aof-load-truncated yes
aof-use-rdb-preamble yes
aof-timestamp-enabled no
slowlog-log-slower-than 10000
slowlog-max-len 128
latency-monitor-threshold 0
notify-keyspace-events ""
hash-max-listpack-entries 512
hash-max-listpack-value 64
list-max-listpack-size -2
list-compress-depth 0
set-max-intset-entries 512
zset-max-listpack-entries 128
zset-max-listpack-value 64
hll-sparse-max-bytes 3000
stream-node-max-bytes 4096
stream-node-max-entries 100
activerehashing yes
client-output-buffer-limit normal 0 0 0
client-output-buffer-limit replica 256mb 64mb 60
client-output-buffer-limit pubsub 32mb 8mb 60
hz 10
dynamic-hz yes
aof-rewrite-incremental-fsync yes
rdb-save-incremental-fsync yes
jemalloc-bg-thread yes
5、启动redis
docker run -p 6379:6379 –name redis -v /home/redis/conf/redis.conf:/etc/redis/redis.conf -v /home/redis/data:/data -d redis:7.0.2 redis-server /etc/redis/redis.conf –appendonly yes
参数说明:
- – p 6379:6379 端口映射:前表示宿主主机部分:后表示容器部分。
- –name redis 指定该容器名称,方便后续的查看和操作。
- -v 挂载目录,规则与端口映射相同。
- -d redis 表示后台启动redis
- redis-server /etc/redis/redis.conf 以配置文件启动redis,加载容器内的conf文件,最终找到的是挂载的目录/home/redis/conf/redis.conf
- appendonly yes 开启redis 持久化

6、常用命令
ocker ps |grep redis # 查看redis 是否启动成功。

docker logs redis # 查看docker容器中的redis日志。

docker exec -it redis /bin/bash #进入容器docker exec -it redis redis-server -v #查看redis版本 7.0.2。

设置防火墙命令
systemctl start firewalld #启动防火墙
firewall-cmd --zone=public --add-port=6379/tcp --permanent # 设置Redis 6379 端口
:firewall-cmd --zone=public --add-port=9000/tcp --permanent 设置Portainer 9000 端口
firewall-cmd --reload #刷新防火墙
停止、重启、删除命令
docker stop redis #停止
docker start redis  #重启
docker rm redis  #删除容器
docker rmi redis #删除镜像
© 版权声明
文章版权归作者所有,未经允许请勿转载。
 蜀ICP备20004578号